Views: 0 Author: Site Editor Publish Time: 2026-07-28 Origin: Site


Transforming an aging, cracked, or visually unappealing concrete patio does not require heavy machinery. You can upgrade your outdoor space entirely without the massive expense of demolition. Many homeowners face this exact dilemma when staring at an old, weathered slab.
Yes, you can install new decking over concrete. However, the methodology dictates the lifespan of your project. If you approach this incorrectly, you risk destroying your new materials in just a few seasons. Concrete behaves very differently from natural ground.
We will guide you away from critical installation errors. You will learn exactly how to avoid mistakes preventing voided warranties. We will transition you toward evaluating the right subframe systems and board profiles. You can then confidently select the perfect setup for your specific space.
Never install boards directly to concrete: Standard composite boards require a subframe for airflow, drainage, and thermal expansion. Direct contact traps moisture and voids manufacturer warranties.
Assess clearance first: Your available threshold height (doorways to concrete) dictates whether you can use a traditional sleeper subframe or if interlocking deck tiles are the only viable option.
Concrete condition matters: The concrete pad must be structurally sound and properly sloped (minimum 1-2 degrees) to prevent standing water under the new deck.
WPC decking requires specific fasteners: Utilizing standard wood screws into concrete is a point of failure; specialized masonry anchors and pedestal systems are required for a stable build.
You might look at a flat concrete slab and think it provides the perfect base. It seems logical to fasten boards straight down. You must resist this urge completely. Direct installation guarantees rapid structural failure.
Concrete acts like a giant sponge. It is highly porous and holds moisture long after a rainstorm ends. When you place Composite Decking flat against this surface, water becomes trapped underneath. The boards need active ventilation beneath them. They must dry out thoroughly after rain. Without an air gap, persistent dampness creates an environment ripe for mold and degradation.
Thermal expansion presents another massive hurdle. Polymer-based boards expand and contract constantly. Temperature changes drive this movement daily. Pinning boards flush against a rigid concrete surface heavily restricts this natural shift. The trapped kinetic energy has nowhere to go. This inevitably causes buckling along the lengths of the boards. You will see warping at the edges. Eventually, the immense pressure shears the fasteners right out of the slab.
Warranty compliance relies entirely on proper installation. Most major decking manufacturers maintain strict guidelines. They explicitly state a minimum ground clearance is mandatory. You usually need 1.5 to 2 inches of gap beneath the boards. They also demand adequate airflow. Failing to build a supporting subframe immediately voids your warranty coverage. You will bear the full cost of replacing ruined materials.
Not every old patio can support a new structure safely. You must inspect the existing foundation thoroughly before ordering materials. A poor base ruins even the highest-quality framing systems.
Begin by sweeping the slab clean. Look closely at the surface for deep, widening cracks. Minor surface spalling rarely causes issues. However, structural fissures indicate severe underlying soil movement. A deck subframe requires exceptionally solid anchoring points. If the concrete is actively heaving or sinking, you cannot build on it. You must repair major foundation faults first. Fill minor cracks using epoxy injections to prevent freeze-thaw damage over winter.
Water must naturally roll off the concrete surface. You can test this by spraying the patio with a garden hose. Watch the water movement carefully. If pooling occurs, you have a drainage problem. Stagnant puddles will drown your subframe eventually.
Minimum slope requirement: The surface should drop roughly a quarter inch per foot away from the house.
Fixing minor pools: Apply exterior-grade self-leveling compound to fill low spots.
Fixing major flow issues: Cut drainage channels into the concrete before beginning the deck installation.
Clearance dictates your entire structural approach. Measure the distance from the concrete surface vertically. Stop at the bottom of adjoining exterior doors. Also check the location of your home's damp-proof courses or siding weep holes. You cannot block these critical architectural features.
Available Height Clearance | Recommended Installation Strategy | Subframe Type |
|---|---|---|
Greater than 4 inches | Standard installation using joists. Allows for long boards and hidden fasteners. | Treated timber or aluminum joists. |
2 to 4 inches | Low-profile installation. Requires careful joist sizing to maintain airflow. | Ultra-low aluminum framing or composite battens. |
Less than 2 inches | Direct surface covering. Traditional framing will not fit. | Interlocking composite deck tiles only. |
Once you know your clearance, you can select an installation method. These two approaches dominate the industry. They offer safe, reliable ways to upgrade your space.
This method builds an elevated framework directly over the concrete. It mimics traditional deck construction. You create a grid using treated lumber, composite joists, or aluminum framing. This grid lifts the final boards safely away from the damp slab.
Execution requires precision. Follow these primary steps:
Position adjustable deck pedestals: Place these heavy-duty plastic feet across the concrete. They keep your joists elevated. This protects timber from rot and allows rainwater to flow freely underneath.
Level the pedestals: Rotate the threaded tops of the pedestals. Create a perfectly flat plane across your sloped concrete.
Install the joists: Lay your framing material onto the pedestals.
Anchor the system: Fasten the pedestals or joists securely to the concrete. Use heavy-duty masonry anchors. Drill directly into the slab using a hammer drill.
Attach the boards: Secure the Composite Decking,WPC decking using standard hidden fastener clips.
This system offers tremendous advantages. It allows you to use full-length traditional boards. You get a robust, permanent feel underfoot. It also allows for complex borders and patterns. However, it requires significant height clearance. It also demands more advanced DIY skills and specialized masonry tools.
Many patios lack the height needed for a subframe. Doorways sit too low to the ground. In these scenarios, interlocking tiles provide an excellent solution. These are pre-assembled squares featuring integrated plastic grid bases.
Execution is incredibly straightforward. The tiles simply snap together. They float directly over the concrete. The plastic grid beneath each tile lifts the surface just enough to allow micro-drainage. You just align the tabs and press down.
This method requires zero anchoring. You do not need hammer drills or masonry bits. It represents an ultra-low profile solution. It remains highly DIY-friendly. You can usually finish a standard patio in one afternoon. However, there are drawbacks. Tiles offer a less permanent feel than traditional long boards. They also require a near-perfectly flat concrete surface. Significant bumps or dips in the slab will cause the tiles to flex and separate over time.
Even with the right method, minor errors can compromise your build. You must anticipate common failure points. Apply these professional strategies to safeguard your investment.
Risk 1: Rotting Timber Subframes.
Wood framing degrades rapidly near concrete. Moisture evaporates from the slab and constantly attacks the lumber. Standard treated wood often fails long before the top boards do. If you choose wood joists, you must apply specialized joist tape. Roll this waterproof butyl barrier over the top of every joist before attaching boards. Better yet, bypass wood entirely. Opt for an aluminum subframe. You can also use specialized composite joists designed specifically for high-moisture environments.
Risk 2: Insufficient Joist Spacing.
Composite material feels rigid, but it remains highly flexible under sustained loads. Heat makes it even more pliable. You must support it properly. Keep your joist spacing to a strict maximum. Industry standards dictate a 16-inch maximum on-center spacing for residential builds. If you install boards at a 45-degree angle, reduce spacing to 12 inches. Hollow profile boards often require closer spacing than solid boards. Always verify the specific manufacturer span tables before framing.
Risk 3: Restricting Perimeter Airflow.
Ventilation represents the lifeblood of a low-clearance deck. Stagnant air breeds mildew and accelerates structural decay. Do not seal the deck fascia completely flush to the concrete. You must maintain gaps. Leave a half-inch expansion gap anywhere the deck meets exterior walls. Use specialized vented fascia boards around the exposed perimeter. This encourages cross-ventilation. Wind should easily blow in one side and exit the opposite side.
Selecting the right components prevents headaches later. You need materials engineered for ground-proximity installations. Evaluate your options based on your specific climate and clearance.
Your foundation matters just as much as the visible surface. Consider these two primary options:
Aluminum framing: This offers the highest durability possible. It never rots, rusts, or warps. It also provides the lowest profile available for long boards. It costs more upfront but lasts a lifetime.
Treated timber with pedestal risers: This remains the standard, cost-effective approach. Ensure you buy lumber rated for ground contact. Always use pedestals to prevent direct concrete contact.
Proximity to concrete means higher moisture exposure. You must pick appropriate flooring profiles.
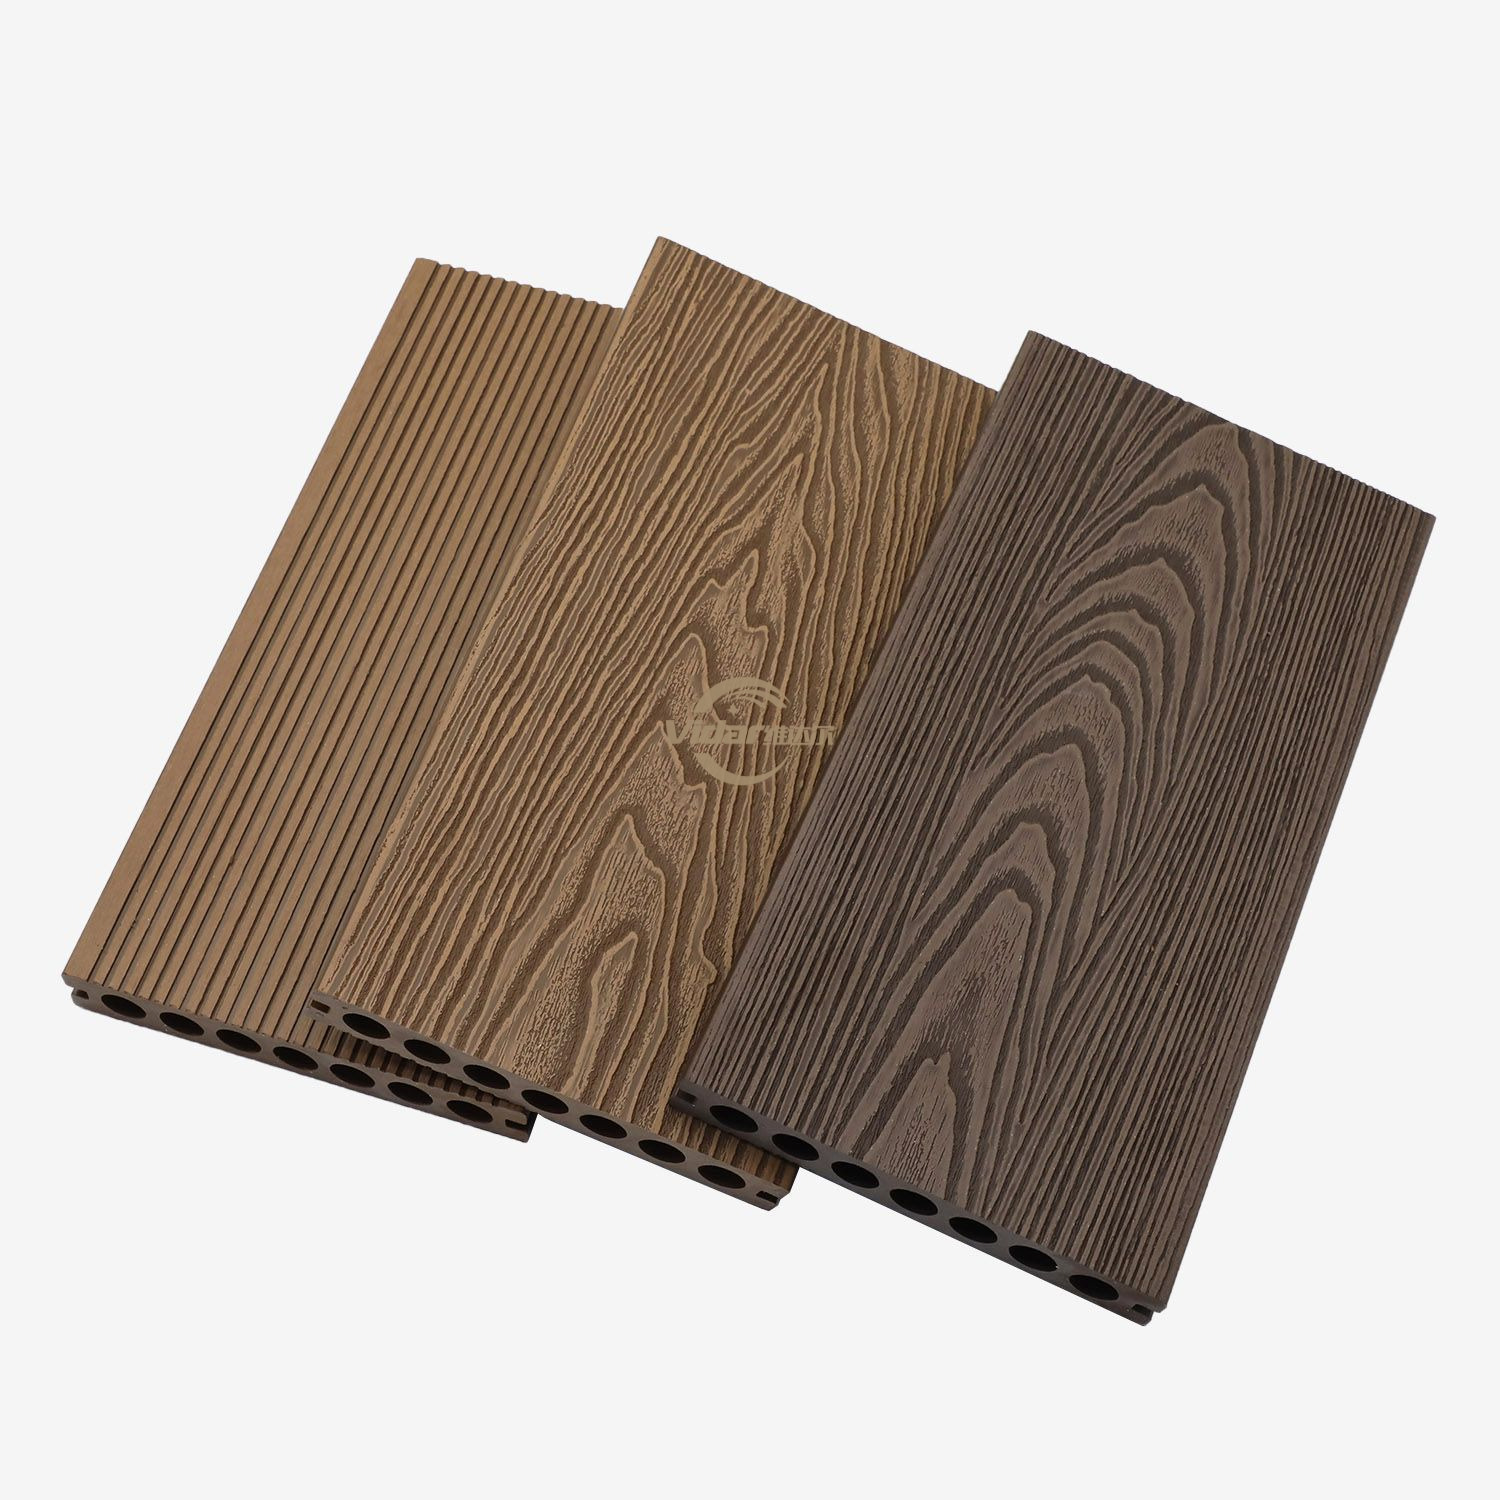
Capped composite decking: Only buy boards encased in a protective polymer shell. Uncapped older generations will absorb ambient moisture and swell. Capped boards offer maximum moisture resistance for these tough installations.
Hollow vs. Solid boards: Hollow boards weigh less and cost less. However, solid boards are strongly recommended for structural stability in lower-clearance setups. They handle thermal shifts better and feel firmer underfoot.
Never skimp on hardware. Standard galvanized screws will corrode quickly near concrete. Buy high-quality concrete expansion bolts to secure your subframe. Use only the specific hidden fastener clips approved by your board manufacturer. Using incompatible clips often voids warranties immediately.
Component | Standard Environment | High-Moisture/Low-Clearance Environment |
|---|---|---|
Joist Material | Treated Pine (H4 rated) | Structural Aluminum or Composite Joists |
Decking Profile | Scalloped or Hollow | Solid, fully capped boards |
Hardware Type | Galvanized Steel | 316 Marine-Grade Stainless Steel |
Subframe Protection | Optional joist tape | Mandatory butyl joist tape |
Installing composite flooring over concrete is a highly effective way to upgrade a patio. It breathes new life into dead spaces. The key to success relies entirely on your preparation. Provided the concrete is treated as a foundation, not a direct underlayment, your deck will thrive. You must build an appropriate subframe to manage moisture and thermal expansion.
Take action by measuring your specific constraints today. Grab a tape measure and calculate your required clearance at the nearest doorway. Grab a level and assess your concrete’s slope to verify drainage. Once you know your numbers, you can order material samples safely. Compare different board colors and textures against your home’s exterior siding.
[Link to Sample Pack Order Page / Link to Decking Calculator / Link to Subframe Products]
A: No. Construction adhesives will fail rapidly. Concrete and composite materials have drastically differing expansion and contraction rates. Temperature swings will shear the adhesive bond. Furthermore, gluing eliminates airflow entirely. This lack of ventilation traps moisture beneath the boards, causing them to warp, degrade, and void any manufacturer warranty.
A: The final height depends entirely on your chosen system. Using interlocking deck tiles adds roughly 1 inch to the surface. Using an ultra-low aluminum subframe combined with standard boards adds about 2.5 to 3 inches. Using a standard timber sleeper system requires 4 or more inches of clearance.
A: Generally, no. Adding a plastic sheet or moisture barrier can actually trap water on top of the concrete, creating stagnant puddles. It is much better to rely on the concrete's natural slope. Use a raised pedestal subframe to let air circulate freely. This allows pooled water to evaporate and drain naturally away from the house.